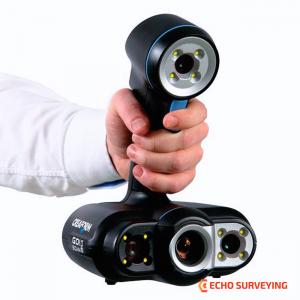
• Creaform-GO!SCAN-50-3D-Scanner.jpg
  • Creaform-GO!SCAN-50.jpg
  • Creaform-GO!SCAN-50-Sale.jpg

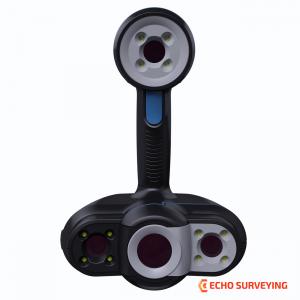
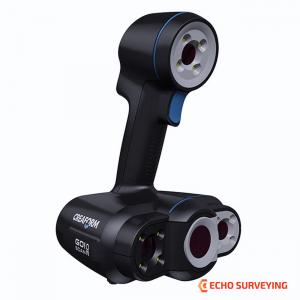
Creaform GO!SCAN 50 3D Scanner

$19900
In Stock

Creaform GO!SCAN 50 for sale, VXelements Software License, Brand new 1 Year warranty on Parts and Labor

Creaform GO!SCAN 50 3D Scanner description

Creaform GO!SCAN 50 for sale, VXelements Software License, Brand new 1 Year warranty on Parts and Labor

Creaform GoSCAN 50 Sale includes:

  • Creaform GoSCAN 50 3D Scanner
  • VXelements software
  • 4 meters custom USB cable
  • 18v power supply
  • 7” x 10” calibration plate
  • 3mm Light Adhesive Positioning Targets - 500/box
  • 3 mm Positioning targets with black contour 1x500
  • 3 mm Positioning targets with black contour and light adhesive 1x500
  • 3D scanning manual turntable
  • Triangular references for GO!SCAN 20 – set of 15 - (angular support for 3mm targets to use along with Go!SCAN 20 only)
  • Carrying case
  • 1 year warranty, parts and labor

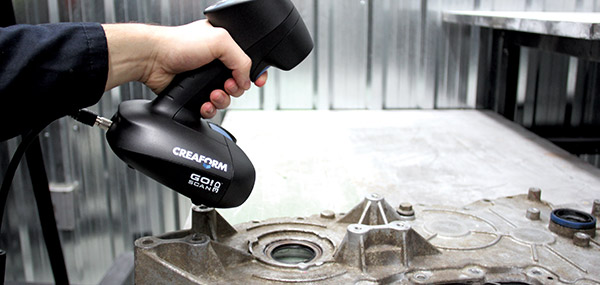
Creaform GO!SCAN 50 3D Scanner with its larger field of view, the Go!SCAN 50 model is ideal for scanning medium to large objects quickly and effortlessly.

The Go!SCAN 3D product line offers our easiest portable 3D scanning experience, providing fast and reliable measurements. With these handheld 3D scanners, you can even capture 3D data in full color.

You need simplified, quick, and accurate 3D scanning? The Go!SCAN 3D were designed with you in mind. Through a very efficient process, these self-positioning systems can be used by anyone without requiring any prior experience or background, and provide visual guidance as you are scanning. Their innovative technology bypasses preparation steps and specific setups, provides a very fast measurement rate, and does not require manual data post-processing.

Highly versatile, they can be used for a wide range of applications, helping professionals throughout the entire product development process.

TRUSIMPLICITY

  • Hybrid positioning: uses the parts’ natural geometry and color.
  • Point-and-shoot: no need to prepare parts. Just go!
  • User-friendly: no experience required, up-and-running in minutes.
  • Scan in color: allows for seamless capture of high-quality geometry and colors simultaneously.
  • Real-time visualization: look at the computer screen to see what you are doing and what is left to be done.

TRUPORTABILITY

  • Stand-alone device: the part is the reference, no external positioning system needed.
  • On-the-go scanning: fits into a carry-on case, so you can use it both in-house or on site.
  • Lightweight and small: weighs under 1 kg (2.2 lb.), can reach confined areas. Fits into a carry-on.

SPEED

  • Fast: typical objects are scanned in 5 minutes or less.
  • High measurement rate: capture large amount of 3D data for faster scanning.
  • Automatic mesh output: ready-to-use files (geometry and color), right as you complete acquisition.
  • Quick workflow integration: usable scan files can be imported into RE/CAD/3D printing software without post-processing

TRUACCURACY

  • Professionnal-grade measurements: accuracy of up to 0.1 mm (0.004 in.) and resolution of up to 0.1 mm (0.004 in.).
  • Built-in intelligence: ensures that 3D data is high-quality and accurate.
  • Optional targets: possible to use targets to compensate for an object’s lack of positioning information.
  • No rigid setup required: both the part and the scanner can be moved during scanning.

TECHNICAL SPECIFICATIONS

  GO!SCAN 20 GO!SCAN 50
  Go!SCAN 20Thanks to its increased resolution, the Go!SCAN 20 is perfectly suited for scanning small parts with intricate details. Go!SCAN 50with its larger field of view, the Go!SCAN 50 model is ideal for scanning medium to large objects quickly and effortlessly.
Accuracy Up to 0.100 mm (0.004 in.)
Volumetric accuracy* 0.300 mm/m (0.0036 in./ft)
Resolution 0.100 mm (0.004 in.) 0.500 mm (0.020 in.)
Measurement rate 550,000 measurements/s
Light source White light (LED)
Positioning methods Geometry and/or color and/or targets
Scanning area 143 x 108 mm
(5.6 in x 4.3 in)
380 x 380 mm
(15 in. x 15 in.)
Stand-off distance 380 mm (15 in.) 400 mm (15.75 in.)
Depth of field 100 mm (4 in.) 250 mm (10 in.)
Part size range
(recommended)
0.05 – 0.5 m (2 – 20 in.) 0.3 – 3.0 m (1 – 10 ft)
Texture resolution 50 to 250 DPI 50 to 150 DPI
Texture colors 24 bits
Software VXelements
Output formats .dae, .fbx, .ma, .obj, .ply, .stl, .txt, .wrl, .x3d, .x3dz, .zpr
Compatible software 3D Systems (Geomagic® Solutions), InnovMetric Software (PolyWorks), Dassault Systèmes (CATIA V5 and SolidWorks), PTC (Pro/ENGINEER), Siemens (NX and Solid Edge), Autodesk (Inventor, Alias, 3ds Max, Maya, Softimage).
Weight 930 g (2.05 lbs.) 950 g (2.1 lbs.)
Dimensions 154 x 178 x 235 mm
(6 x 7 x 9.2 in.)
150 x 171 x 251 mm
(5.9 x 6.7 x 9.9 in.)
Connection standard 1 x USB 2.0
Operating temperature range 15-40 °C (41-104 °F)
Operating humidity range (non-condensing) 10-90%


APPLICATIONS

The Go!SCAN 3D scanners: your best ally at all stages of your product lifecycle management
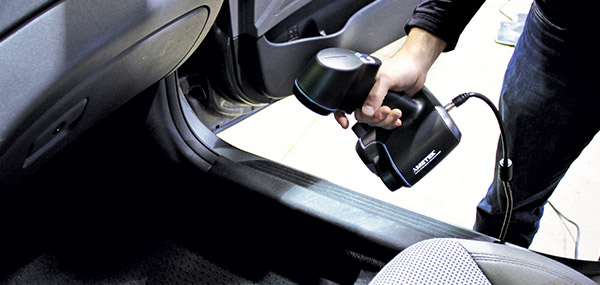
CONCEPT

REQUIREMENTS AND SPECIFICATIONS

  • Competitive product analysis
  • Measurement of product environment or connecting/Surrounding part
  • Measurement of existing parts for aftermarket or custom equipment

CONCEPT DESIGN

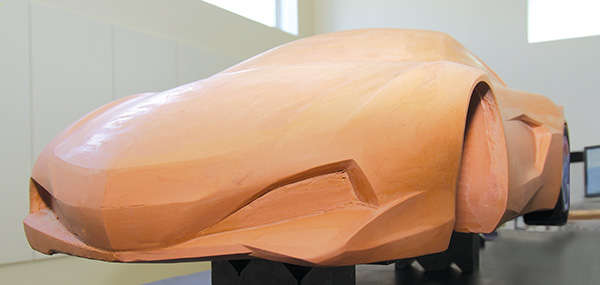
  • Clay model measurement/Reverse engineering
  • Models and mock-ups measurement/Reverse engineering
  • Styling and aesthetics

CONCEPT PROTOTYPING

  • Integration of prototype modifications into CAD file
  • Form study, proof-of-concept prototypes
  • Ergonomy prototypes

DESIGN


CAD DESIGN

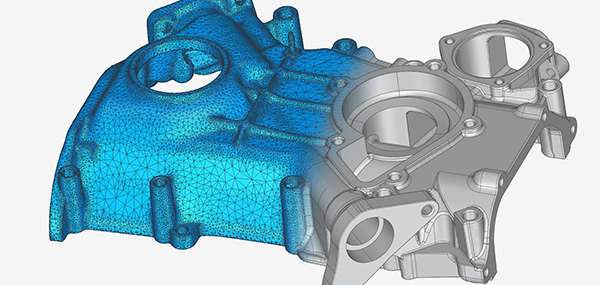
  • 3D scan-to-CAD
  • Reverse engineering (extracting design-intent)
  • Packaging design


PROTOTYPING

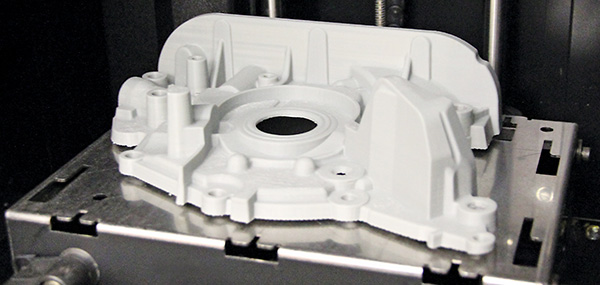
  • Rapid prototyping/Manufacturing
  • Integration of prototype modifications into CAD file
  • Prototype inspection


TESTING, SIMULATION AND ANALYSIS

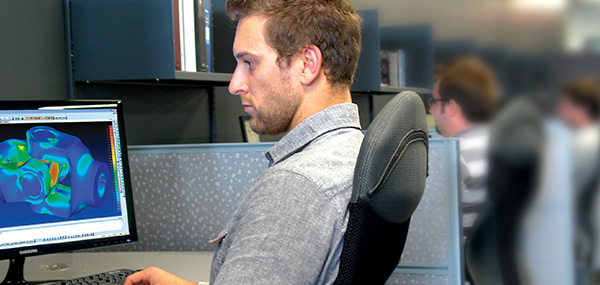
  • Finite element analysis (FEA)
  • Interference analysis
  • Deformation, geometry analysis

MANUFACTURING


TOOLING DESIGN

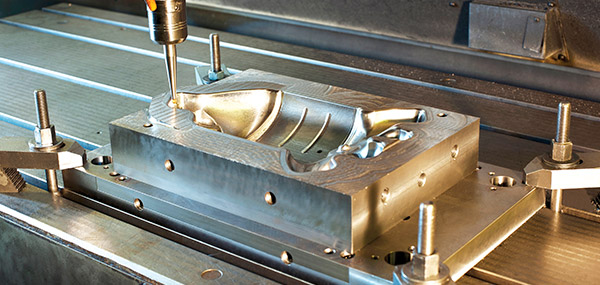
  • Reverse engineering of dies, molds, fixtures, jigs and patterns
  • Update of CAD file to reflect as-built tooling measurements
  • Tooling validation/Inspection
””ASSEMBLY/PRODUCTION
  • Virtual assembly
  • Tool/Robot path programming
  • Part assessment before machining

QUALITY CONTROL

  • First article inspection (FAI)
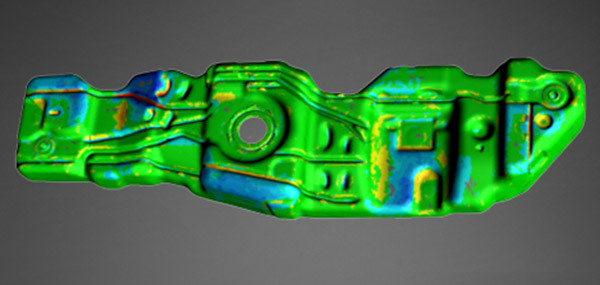
  • Part-to-CAD inspection
  • Supplier quality inspection

SERVICING


DOCUMENTATION

  • As-built documentation of parts/Tooling
  • Marketing presentations, 3D training systems, serious gaming
  • Digital archiving


MAINTENANCE, REPAIR AND OVERHAUL (MRO)

  • Wear and tear analysis
  • Custom repairs/Modification
  • As-built documentation of parts/Tooling before maintenance


REPLACEMENT/RECYCLING

  • Reverse engineering for developing replacement /Restoration parts
  • Planning of complex assemblies disassembly/Dismantling

OTHER APPLICATIONS

  • Museology/Heritage preservation
  • Preservation, restoration and digital archiving
  • 3D scanning for research, analysis and publishing
  • Multimedia/Entertainment
  • Computer graphics and special effects

VXELEMENTS SOFTWARE: CREAFORM’S 3D SOFTWARE PLATFORM

The Go!SCAN 3D scanners come with VXelements, a fully integrated 3D software platform that powers our entire fleet of 3D scanning and measurement technologies. It gathers all the essential elements and tools into a user-friendly, simplified and sleek working environment. Its real-time visualization provides a simple, enjoyable scanning experience.

An optimized scan file is automatically created and available upon completion of the data acquisition step, which contributes to greatly shorten your part inspection or design process.
VXSCAN: SCAN SOFTWARE MODULE

VXscan is entirely dedicated to the acquisition and optimization of 3D scanning data. It delivers high performance for that specific task, yet it is simple and user-friendly enough to suit any user's experience level.

  • User-friendly interface: VXelements was designed to simplify the whole scanning process to its essential core, through a powerful and simple process.
  • Surface optimization algorithm: avoids the creation of multiple scan layers and ensures a more accurate mesh without any post-treatment;
  • Direct mesh output: an optimized mesh can be exported in all standard formats, right as you complete acquisition. No complicated alignment or point cloud processing needed;
  • No limitation to the scan resolution: you simply need to input a resolution value, independent from the size of the scanned object. Resolution can be changed at any time before/after the scan;
  • Real-time visualization: the user can view the 3D surface as the object is being scanned;
  • Scan results enhancement: hole filling, smart decimation, boundary filters, etc.

Related Products

Creaform GO!SCAN 50 3D Scanner